
Classic Vehicle Export Process: Your 2026 Complete Guide
June 28, 2026
Modern Tech Upgrades for Classic Vehicles: 2026 Guide
June 30, 2026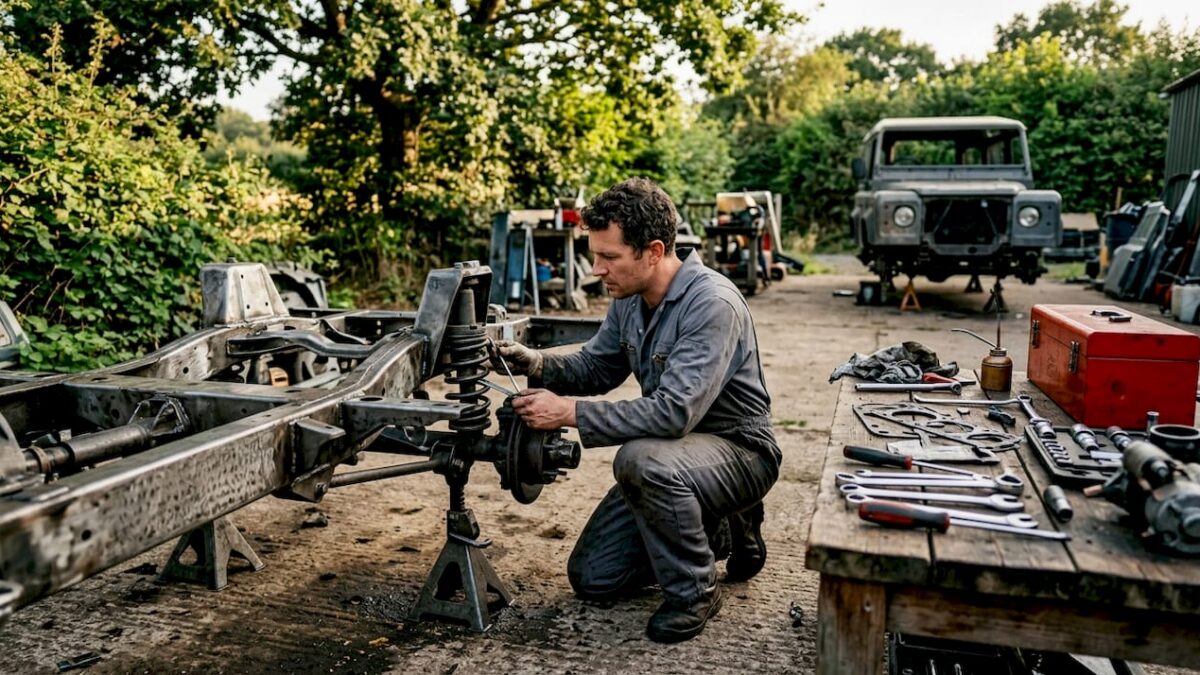
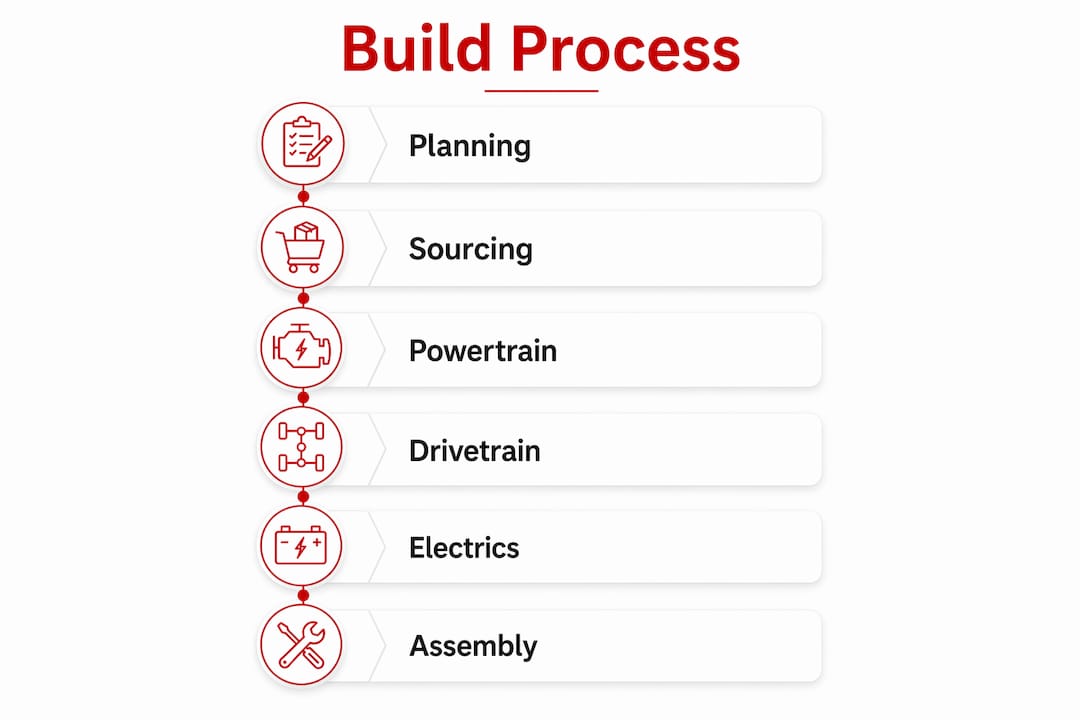
To spec a custom Defender from scratch is to commission a ground-up restomod: every system, from the chassis to the cabin, is rebuilt and specified to your exact requirements. This process goes far beyond swapping parts. Professional builders treat the Land Rover Defender as an integrated system, where suspension, braking, cooling, and electrical architecture are re-engineered together to match the powertrain you choose. This guide walks you through every stage of that process, from sourcing your donor vehicle to final road testing, so you can build a Defender that is genuinely, irreversibly yours.
How to spec a custom Defender from scratch: prerequisites and planning
Every successful build begins before a single bolt is turned. The quality of your preparation determines the quality of your finished vehicle.
Essential tools and workshop requirements
A ground-up Defender build demands a properly equipped workspace. At minimum, you need:
- A two-post or four-post lift rated for at least 5,000 lbs
- MIG and TIG welding equipment for chassis and body repairs
- An angle grinder, sandblaster, and media blasting cabinet
- A full socket set (metric and imperial), torque wrench set, and breaker bars
- Engine hoist and transmission jack
- Electrical multimeter and wiring diagram reference set
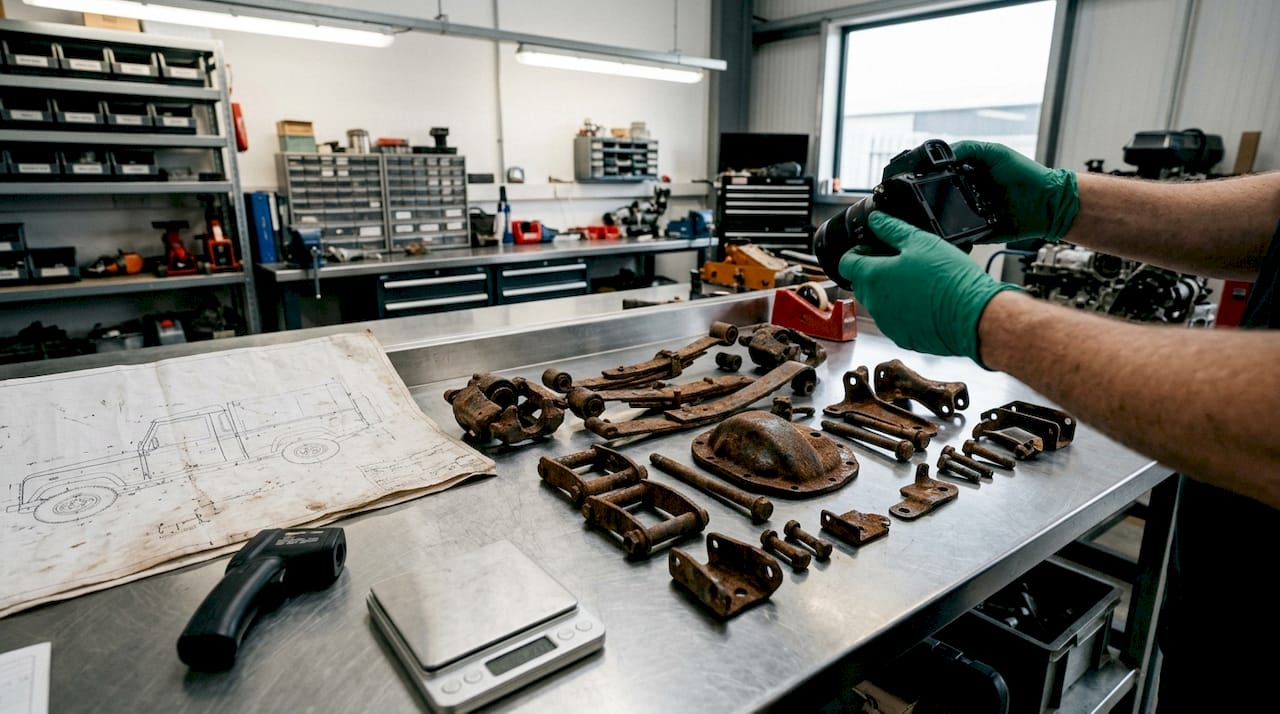
- Labeled storage bins and a photographic documentation system
The photographic documentation system is not optional. Photographing every part during teardown is the single most reliable way to avoid costly reassembly mistakes, particularly on complex wiring harnesses. Older donor vehicles frequently carry decades of amateur splicing that makes rewiring a forensic exercise without proper records.
Sourcing your donor vehicle and chassis
The donor vehicle sets the ceiling for your build. Series III, 90, 110, and 130 body styles each carry different structural considerations and parts availability. A galvanized chassis replacement is worth budgeting from the start. Galvanized chassis options provide long-term rust prevention that a repaired original chassis simply cannot match in a full restomod context.
Pro Tip: Source your donor vehicle with provenance documentation. A Defender with a known service history gives you a cleaner starting point and protects the investment-grade value of the finished build.
| Component | Standard Option | Upgraded Option |
|---|---|---|
| Chassis | Repaired original steel | New galvanized replacement |
| Body panels | Refurbished aluminum | Custom coachbuilt panels |
| Axles | Refurbished stock | Heavy-duty uprated axles |
| Wiring harness | Repaired original | Full modern rewire |
How do you perform teardown and chassis restoration?
The teardown phase is where discipline separates a professional restomod from a parts-swap project. Work sequentially, section by section, and photograph everything before removal.
- Remove the body from the chassis. Label every bolt, bracket, and clip with masking tape and a marker. Bag hardware by location.
- Strip the chassis completely. Remove all suspension components, fuel and brake lines, and wiring.
- Evaluate for rust and structural damage. Probe every rail, crossmember, and outrigger. Mark repairs needed before sandblasting.
- Sandblast the chassis to bare metal. Media blasting reveals hidden corrosion that wire brushing misses entirely.
- Weld all repairs before coating. Address cracks, holes, and weakened sections with MIG or TIG welds, then grind smooth.
- Apply chassis protection. Epoxy primer followed by a two-part chassis paint provides a durable base. A galvanized replacement chassis skips this step and delivers superior long-term protection.
- Restore body panels. Strip aluminum panels to bare metal, repair dents and corrosion, and apply an etching primer before topcoat.
Chassis work that includes sandblasting, structural repair, and proper coating is the foundation that every subsequent system depends on. A compromised chassis transfers stress into every component bolted to it.
Pro Tip: Before welding any chassis repair, clean the surrounding metal to bright steel with a flap disc. Welding over mill scale or rust creates weak, porous joints that fail under load.
A Defender chassis that has been properly stripped, repaired, and protected will outlast the vehicle’s body by decades. The investment in this stage pays dividends in every mile that follows.
What are the powertrain, drivetrain, and suspension upgrade options?
The powertrain choice defines the character of your build. Modern Defender restomods offer three primary engine directions, each with a distinct performance and ownership profile.
Engine options
- 3L Vortec LC9 V8. A proven swap that delivers strong torque and broad parts availability across the United States.
- LS3 and LS3+ V8. The LS3 generates up to 565 horsepower in tuned configurations, making it the choice for enthusiasts who want genuine performance alongside the classic silhouette.
- Electric conversion. Fully electric powertrains deliver silent, instant torque and position the build as an eco-conscious statement without sacrificing capability.
That horsepower figure from the LS3+ is not decorative. It demands that the entire drivetrain, from gearbox to axles, be specified to handle the load.
Drivetrain and suspension
Suspension, braking, and cooling must be re-engineered to match the chosen powertrain. This is the core principle of system integration. Mismatched components produce a vehicle that is unreliable, unsafe, or both.
Key upgrade areas include:
- Gearbox: five-speed or six-speed manual, or automatic transmission matched to engine output
- Transfer case: uprated for increased torque capacity
- Axles: heavy-duty units with appropriate differential ratios for intended use (road, trail, or mixed)
- Brakes: uprated discs and calipers front and rear, with braided lines
- Suspension: adjustable coilovers or uprated springs and dampers matched to wheel and tire selection
- Custom Defender wheels and all-terrain or highway tires sized for the lift and intended terrain
Safety upgrades including airbags, roll cages, and modern harnesses are integrated at this stage, not added as afterthoughts. They must be designed into the build architecture from the start.
Pro Tip: When selecting drivetrain components, calculate the torque multiplication through the transfer case and differentials. An LS3 producing 500 lb-ft at the flywheel can deliver well over 1,500 lb-ft at the axle shafts under low-range gearing. Specify axles accordingly.
How do you integrate modern electrics, interiors, and infotainment?
Modern comfort and technology integration is where a restomod earns its premium. The goal is a cabin that feels contemporary without erasing the Defender’s character.
Electrical rewiring
- Remove the entire original wiring harness and catalog every circuit by function.
- Design a new harness layout using modern automotive wire, proper gauge sizing, and weatherproof connectors.
- Install a fuse and relay board in an accessible location, clearly labeled by circuit.
- Run new harness through factory routing channels where possible to maintain a clean appearance.
- Electrical systems must meet modern quality standards, including proper grounding, shielded runs near ignition sources, and sealed connectors throughout.
Interior and infotainment
Custom leather interiors, digital dashboards, and infotainment upgrades define the bespoke character of a finished build. The options available to a builder today include:
- Full leather upholstery with custom stitching patterns and color choices
- Recaro or custom-fabricated bucket seats with modern side-impact protection
- Touchscreen infotainment with Apple CarPlay, Android Auto, and navigation
- Premium sound systems with door-mounted speakers and a discreet subwoofer
- Digital instrument clusters replacing analog gauges
- Climate control systems replacing the original heater box
Every interior component must be fitted before final body sealing. Attempting to run wiring or install panels after the body is sealed creates unnecessary rework and risks damaging the finish.
What does final assembly, testing, and quality assurance involve?
Reassembly is not simply the reverse of teardown. It is a sequential process where each system is tested before the next is installed on top of it.
- Torque all chassis fasteners to specification and document with a torque wrench log
- Install drivetrain components and verify alignment before body drop
- Seal all body-to-chassis joints with automotive butyl tape to prevent dust, moisture, and noise intrusion
- Install wiring harness and test every circuit before closing panels
- Fit interior components and verify all switches, controls, and displays function correctly
- Conduct a static fluid check: coolant, oil, brake fluid, and fuel system integrity before first start
Careful reassembly with thorough testing is the only reliable method for identifying leaks, rattles, and electrical faults before they become road problems. Patience at this stage protects every hour invested in the build.
Pro Tip: Road test in stages. First, a low-speed parking lot circuit to check brakes and steering. Then a 10-mile mixed road test. Then a full highway run. Each stage reveals a different category of issue.
Common issues to check during road testing include:
- Water ingress at door seals, windshield, and roof
- Drivetrain vibration at highway speed indicating driveshaft balance or alignment issues
- Electrical gremlins triggered by heat or vibration
- Brake pedal feel and pull under hard stops
- Suspension noise over rough surfaces
Key Takeaways
Specifying and building a custom Defender from scratch requires treating the vehicle as one integrated system, where chassis, powertrain, electrical, and interior choices must be planned and executed together to produce a reliable, bespoke result.
| Point | Details |
|---|---|
| System integration is non-negotiable | Suspension, braking, and cooling must be matched to the chosen powertrain from the start. |
| Document every teardown step | Photographs and labels prevent costly reassembly errors, especially on wiring harnesses. |
| Chassis quality sets the ceiling | A galvanized replacement chassis delivers long-term rust protection that repairs cannot match. |
| Powertrain defines the build character | LS3 V8 swaps, Vortec LC9 options, and electric conversions each demand different drivetrain specifications. |
| Test in stages before road use | Sequential testing after reassembly catches leaks, rattles, and electrical faults before they compound. |
Why system integration is the hardest lesson in a custom Defender build
The most common mistake I see in custom Defender projects is treating the build as a collection of independent upgrades rather than a single engineered system. A builder will source a high-output V8, drop it into a stock drivetrain, and wonder why axle shafts fail within a season. The engine was not the problem. The mismatch was.
What separates a truly successful restomod from an expensive parts collection is the discipline to specify every component in relation to every other component. When you choose an LS3, that decision cascades through the gearbox selection, the transfer case rating, the axle specification, the brake upgrade, and even the wheel offset. Pull one thread and the whole system adjusts.
Documentation is the other discipline that separates professionals from enthusiasts who learn the hard way. Every wire you label during teardown is a wire you can trace during reassembly. Every bracket you photograph is a bracket you can reinstall correctly six months later when the chassis work is finally done. The builds that go smoothly are the ones where the builder treated the teardown as seriously as the rebuild.
Patience is not a soft skill in this context. It is a technical requirement. The Defender rewards builders who work sequentially and test at every stage. It punishes those who rush to the finish line.
— Evolve
Ecdautodesign’s bespoke Defender builds for serious enthusiasts
Ecdautodesign has built its reputation on exactly the kind of ground-up, system-integrated approach this guide describes. Every build begins with a meticulous restoration process, and every specification, from powertrain to interior finish, is chosen by the client and visualized through a real-time 3D rendering configurator before a single component is ordered.
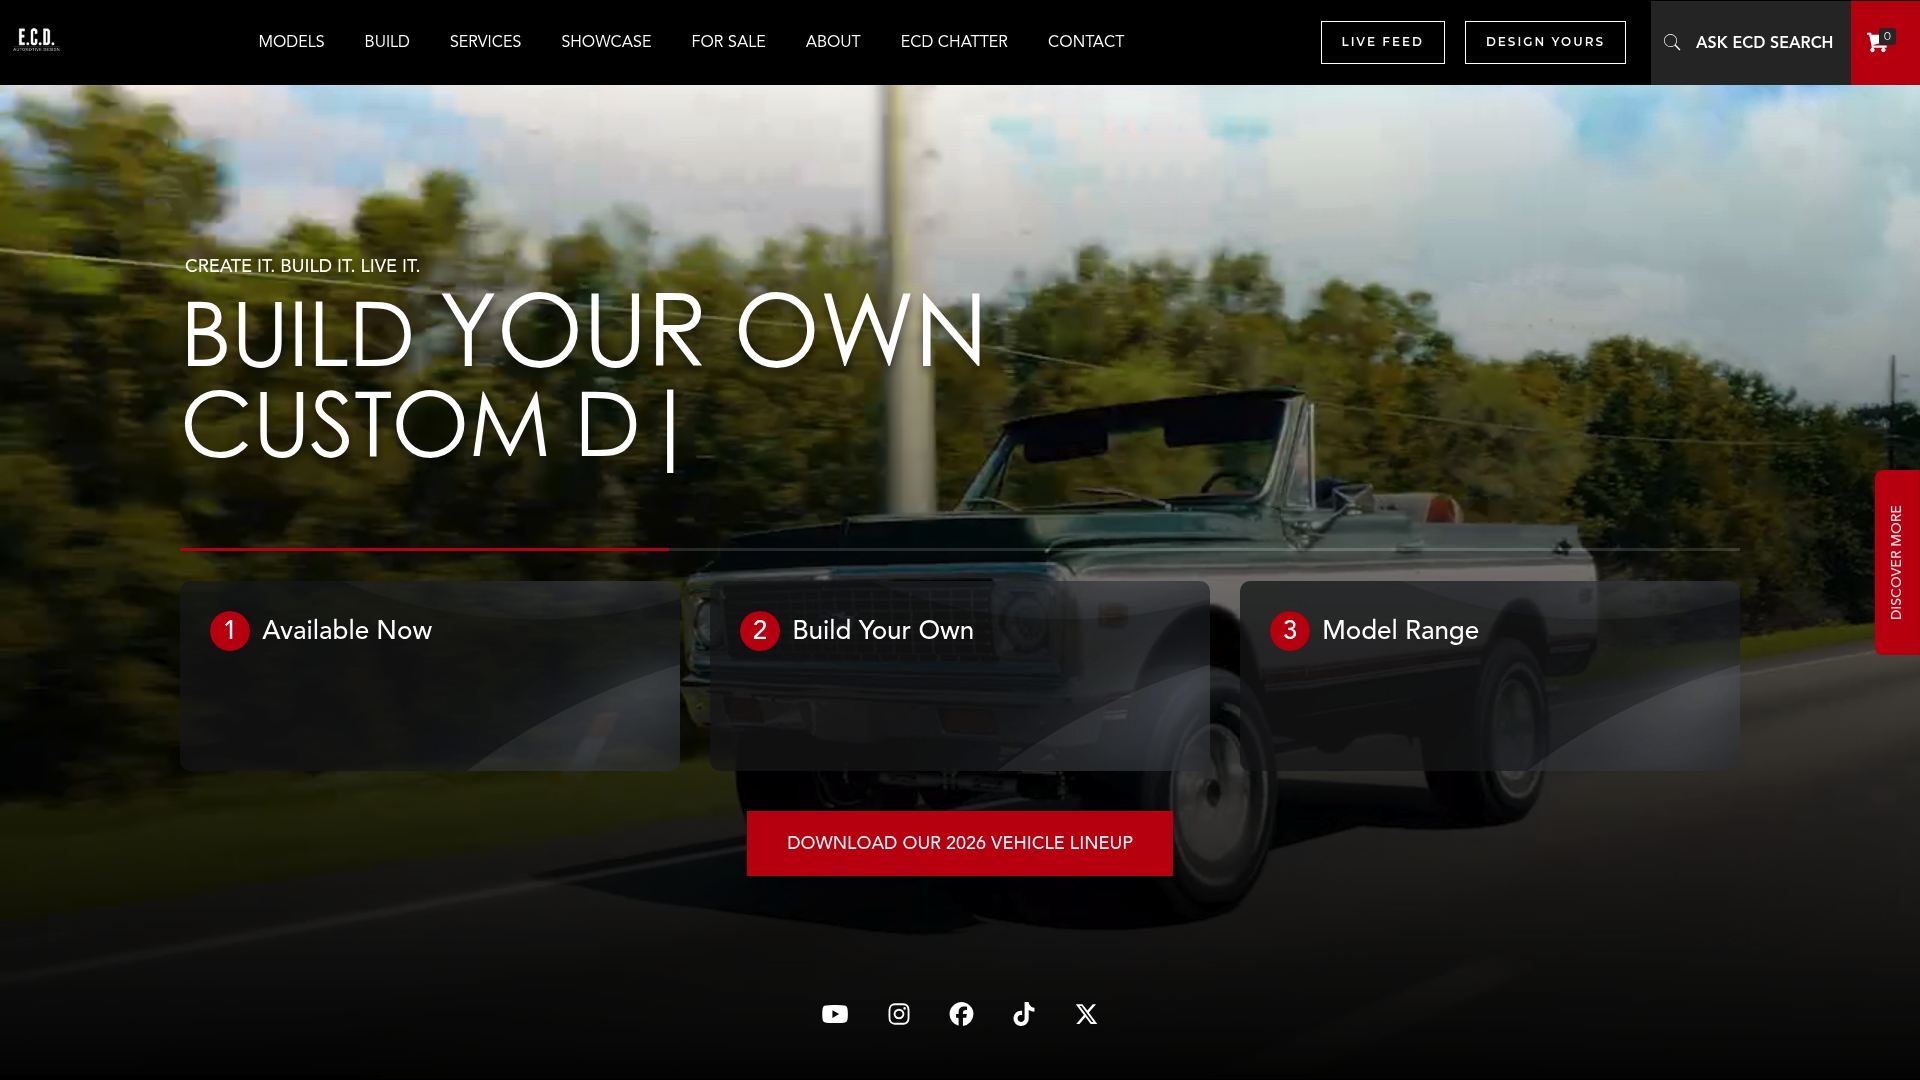
For enthusiasts who want the result of a ground-up restomod without managing the complexity themselves, Ecdautodesign offers a fully guided, atelier-level build experience. The team has been recognized by publications including Car Buzz for producing bespoke custom Defenders that make even new production Defenders look understated. If you are ready to specify your build, the conversation starts at ecdautodesign.com.
FAQ
What does it mean to spec a custom Defender from scratch?
Specifying a custom Defender from scratch means defining every component of the vehicle, from chassis and powertrain to interior and electrics, as part of a ground-up restomod build rather than modifying a running vehicle piecemeal.
How long does a ground-up Defender build typically take?
Build timelines vary by complexity, but a full restomod covering chassis restoration, powertrain swap, rewiring, and custom interior typically requires several months of dedicated workshop time.
What engine options work best for a custom Defender build?
The LS3 V8 is the performance benchmark, generating up to 565 horsepower in tuned form. The 3L Vortec LC9 offers strong torque with broader parts availability, and fully electric conversions deliver instant torque for eco-conscious builds.
Do I need a galvanized chassis for a custom Defender?
A galvanized chassis replacement is the most durable long-term option for a full build. It eliminates the rust risk that repaired original steel chassis carry and provides a clean foundation for all subsequent work.
How do I integrate modern technology without losing the Defender’s character?
Modern infotainment, leather interiors, and digital dashboards can be fitted while preserving the Defender’s exterior silhouette and proportions. The key is specifying components that complement the vehicle’s heritage aesthetic rather than overwriting it.
Recommended
- Why Restoring a Custom Defender is Difficult – Custom Defender | Restored Defender Specialists | ECD Auto Design
- Outfitting Your Custom Defender with Kahn Design – Custom Defender | Restored Defender Specialists | ECD Auto Design
- Questions About Custom Defenders from ECD – Custom Defender | Restored Defender Specialists | ECD Auto Design
- 20 Top Custom Defender Upgrades – Custom Defender | Restored Defender Specialists | ECD Auto Design
FREQUENTLY ASKED
QUESTIONS
No FAQs configured yet.