


Why Restored Vehicles Suit Executive Lifestyles
July 15, 2026
What Is a Concours-Ready Restoration? The Full Guide
July 17, 2026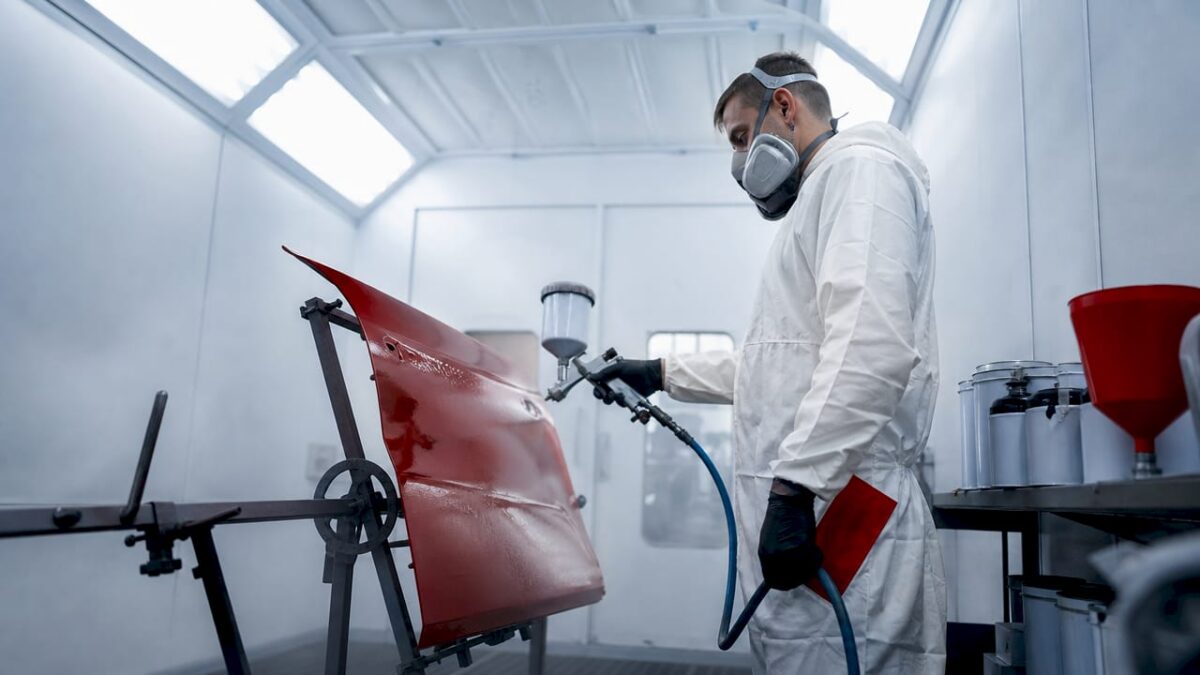
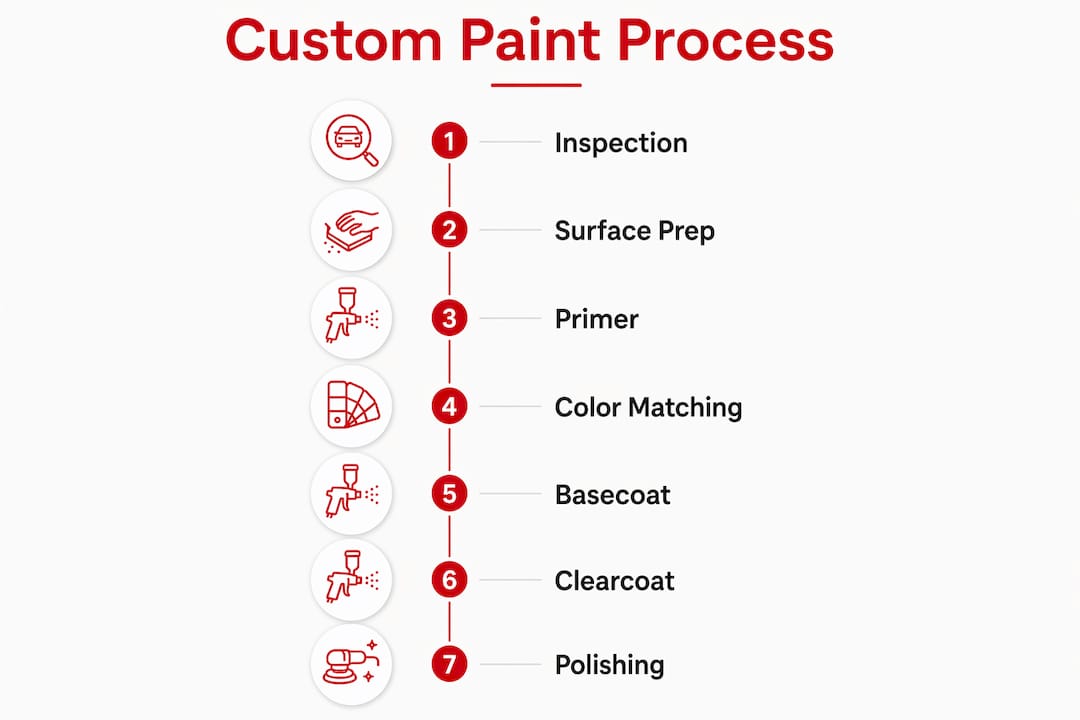
Custom paint processes are defined as a multi-step, precision-driven sequence of surface preparation, priming, color matching, basecoat application, clearcoat layering, and finish polishing that transforms a vehicle’s appearance at a technical and artistic level. Understanding how custom paint processes work separates enthusiasts who get lasting, show-quality results from those who end up with peeling, mismatched panels. The full sequence follows a 7-step professional refinish protocol, and every stage depends on the one before it. Skip a step, and the entire finish pays the price.
What are the essential steps in a professional custom automotive paint process?
Professional automotive refinishing is not a single act of spraying color onto metal. It is a carefully ordered sequence where each layer earns the right to exist by building on a properly prepared surface beneath it.
Surface preparation
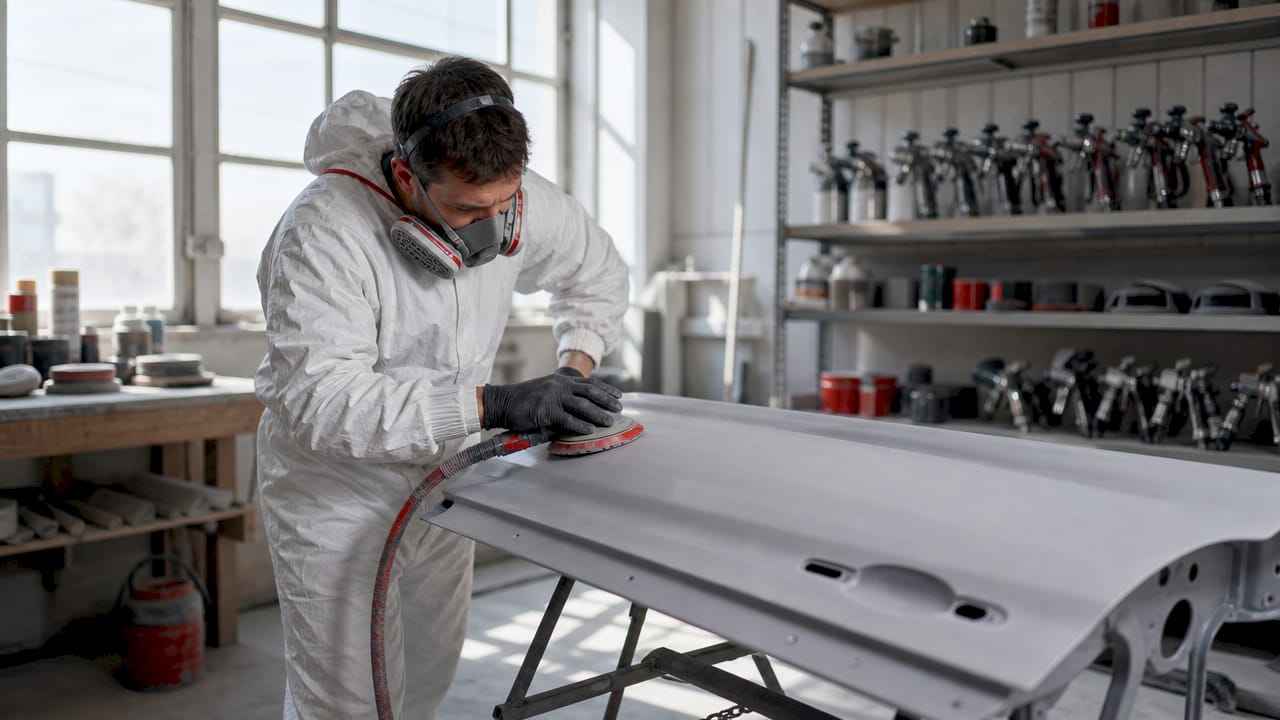
Preparation is the foundation of every great paint job. The panel must be cleaned of grease, wax, and contaminants, then sanded to create mechanical adhesion for the primer. Rust removal comes next, using media blasting, chemical treatment, or grinding, depending on severity. Any bodywork repairs, such as filling low spots or straightening metal, happen at this stage before a single drop of primer touches the surface.
Primer application
Primer acts as the handshake between your prepared surface and the basecoat. Without it, adhesion fails, bubbling appears, and the finish peels within months. The correct method involves spraying 2–3 thin coats with flash times of 10–15 minutes between each coat, then allowing a full cure of 2–3 days before moving forward. Rushing this stage is the single most common mistake hobbyists make.
Pro Tip: Never apply a thick single coat of primer to save time. Thin coats flash properly, trap less solvent, and cure harder. A thick coat traps solvents that later cause lifting.
Color matching and basecoat
Color matching uses spectrophotometers to read the existing paint’s light reflectance, pigment density, and flake orientation. The data feeds directly into mixing software, which adjusts the formula before any paint is blended. Once the formula is confirmed, the basecoat goes on in overlapping passes, maintaining consistent gun distance and air pressure. Solvent-borne and waterborne paints both work well, but waterborne systems require faster flash times and controlled airflow to cure correctly.
Clearcoat and final polishing
Clearcoat is the armor that protects color from UV damage, stone chips, and chemical exposure. It goes on in 2–3 wet coats over a fully flashed basecoat. After curing, wet sanding with 1,200 to 2,000 grit removes any texture, orange peel, or dust nibs. Compounding and polishing follow to restore gloss and clarity. The result, when done correctly, is a finish with genuine depth and a mirror-like surface that holds up for years.
How does modern color matching improve custom paint results beyond factory paint codes?
Factory paint codes are a starting point, not a solution. A code tells you what color the vehicle left the factory wearing. It tells you nothing about how that color has aged, faded, or shifted under years of UV exposure and environmental wear.
Modern color matching uses spectrophotometers to capture pigment density and flake orientation from the existing panel. That data feeds into software that adjusts the formula before mixing. The result is a paint that matches the actual car in front of you, not the theoretical car that left the factory a decade ago.
Blending new paint outward into adjacent panels is not optional for metallics and pearls. Two vehicles with the identical factory code can differ in flake distribution enough that a direct panel match creates a visible line. Blending is the professional’s answer to that problem, and it requires expert judgment to determine how far the blend must travel.
Metamerism is a real threat in color matching. A paint that looks perfect under shop fluorescents can look noticeably different in direct sunlight. Avoiding this failure requires spraying test cards and checking the match under both natural and artificial light before committing to the full panel.
Key practices that separate professional color matching from amateur guesswork:
- Read the existing panel with a spectrophotometer, not just a visual comparison
- Adjust the formula in software before mixing any paint
- Spray test cards and evaluate under multiple light sources
- Use feathering and blending techniques on adjacent panels for metallics and pearls
- Apply clearcoat and cure in a controlled oven environment for maximum gloss and hardness
Oven curing after clearcoat application produces a harder, more chip-resistant finish than air drying. It also reduces dust contamination during the cure window. For anyone serious about longevity, baking the finish is not a luxury. It is the correct way to finish the job.
Vintage colors on classic vehicles present a particular challenge. Ecdautodesign’s work on vintage Land Rover colors demonstrates exactly why code lookups alone fall short on aged finishes. The blend, the formula adjustment, and the curing process all matter as much as the code itself.
What specialty techniques are used in advanced custom paint finishes?
Candy coats and large metallic flake finishes are among the most visually striking effects in custom automotive painting. They are also among the most technically demanding. The sequence is unforgiving, and a single misstep at any layer contaminates every layer above it.
The process follows a strict build order. Each stage must be complete and correct before the next begins.
| Stage | What happens | Why it matters |
|---|---|---|
| Basecoat brightness | A bright, often white or silver base is applied | Sets the luminosity that candy layers will amplify |
| Flake application | Dry flake gun deposits metallic flake on tacky carrier | Avoids clogging; preserves flake size and orientation |
| Intercoat clear | Clearcoat buries and locks the flake layer | Creates a level surface for candy application |
| Wet sanding | 1,200–2,000 grit levels the flake texture | Removes high spots so candy lays flat and even |
| Candy coat application | Translucent candy color applied in even passes | Builds color depth without obscuring the flake beneath |
Standard airbrushes clog when used with large metallic flakes. Dry flake guns solve this by placing the flake directly onto a tacky carrier coat without thinning the paint into sludge. The flake lands with its orientation intact, which is what creates the dimensional sparkle that defines this finish category.
The most common mistake in candy coat work is applying the candy over a rough, unlevel flake surface. The texture telegraphs through every candy layer and ruins the depth effect. Leveling the flake with wet sanding before candy application is not optional. It is the step that separates a professional result from an expensive failure.
Pro Tip: Always spray a test panel with your full candy sequence before touching the vehicle. Candy coats build color quickly, and the only way to know how many passes achieve your target depth is to test first.
Workspace control matters as much as technique. Respiratory protection rated for isocyanates is non-negotiable when spraying clearcoats and candy systems. Temperature and humidity directly affect flash times and final gloss, so a climate-controlled booth is the correct environment for this level of work.
How are 3D-printed stencils changing precision in custom paint designs?
Traditional hand-cut masks fail on complex vehicle curves. A flat vinyl mask applied to a compound curve lifts at the edges, bleeds paint underneath, and produces soft lines where crisp ones were intended. The geometry of a vehicle panel simply defeats a rigid stencil.
Thin, flexible 3D-printed TPU stencils conform to panel shapes that would defeat any hand-cut mask. The workflow begins with a digital design, moves to printing, includes a test fit on the actual panel, and then proceeds to multi-layer application. The stencil bends with the surface rather than fighting it.
Best practices for multi-layer stencil work:
- Build registration marks into the digital design so each layer aligns precisely with the last
- Break large stencils into sections to manage complex curves without distortion
- Use the thinnest TPU layer that still holds its shape under paint pressure
- Press edges firmly before spraying to prevent bleeding at fine detail areas
- Clean and store printed stencils after each use to extend their service life
Good 3D-printed stencils include bridging for enclosed shapes like letters and holes, which prevents the center from floating free during application. This design detail is what makes intricate typography and logos reproducible across multiple panels or multiple builds. Reusability is the other major advantage. A well-designed printed stencil can be used dozens of times, eliminating the time cost of cutting a new mask for every application.
Key Takeaways
Custom paint processes succeed only when every stage, from surface preparation through oven curing, is executed in the correct sequence with the right tools and materials.
| Point | Details |
|---|---|
| Sequence is non-negotiable | Each layer depends on the one beneath it; skipping any step causes adhesion failures or finish defects. |
| Primer requires patience | Apply 2–3 thin coats with proper flash times and allow 2–3 days of cure before basecoat. |
| Color matching goes beyond codes | Spectrophotometers and formula software correct for UV fade and flake variation that codes cannot address. |
| Specialty finishes demand specialized tools | Dry flake guns preserve flake integrity; standard airbrushes clog and ruin the effect. |
| Stencil technology improves precision | Flexible 3D-printed TPU stencils conform to compound curves and can be reused for consistent results. |
Why patience is the most underrated tool in custom painting
The enthusiasts I see struggle most with custom paint are not the ones who lack skill. They are the ones who lack patience. Rushing primer is the classic example. Two days of cure time feels excessive when you are excited to spray color. But primer that has not fully outgassed will lift under the basecoat, and you will spend far more time stripping and starting over than those two days ever cost you.
The same principle applies to color matching. Checking a test card under one light source and calling it good is a shortcut that produces metamerism failures in the customer’s driveway. The spectrophotometer and the software do the heavy lifting, but the painter still has to do the test, check it outside, check it under fluorescents, and adjust before mixing a full batch.
What genuinely excites me about where this craft is heading is the convergence of digital tools and traditional technique. Spectrophotometers, formula software, and 3D-printed stencils do not replace skill. They amplify it. A painter who understands blending and layering gets dramatically better results with these tools than one who treats them as shortcuts. The technology rewards process discipline, not impatience.
For hobbyists, the most valuable thing you can do is respect the test panel. Spray your full sequence on scrap metal before touching the vehicle. Every candy coat build, every metallic blend, every stencil layer should be proven on a test surface first. That discipline is what separates a finish worth admiring from one worth redoing.
— Evolve
Ecdautodesign’s approach to multi-stage custom paint
Ecdautodesign applies every principle covered here across its bespoke Land Rover Defender builds, from ground-up surface preparation through oven-cured clearcoat and hand-polished finishes. The atelier’s process treats paint not as a cosmetic afterthought but as a structural commitment to the vehicle’s provenance and long-term value.
For enthusiasts who want to see what a fully realized, investment-grade custom paint process looks like on a classic vehicle, Ecdautodesign’s showroom-quality restoration work covers the full refinishing sequence from an expert’s perspective. If you are considering a bespoke build where every paint decision reflects your vision, Ecdautodesign’s custom restoration approach offers a compelling look at what precision craftsmanship produces at the highest level.
FAQ
What are the main steps in a custom automotive paint process?
The professional sequence includes inspection, surface preparation, primer application, computerized color matching, basecoat, clearcoat, and final polishing. Each stage must be completed correctly before the next begins.
Why can’t I just use the factory paint code to match my car’s color?
Factory codes reflect the original color, not how that color has aged. UV exposure and environmental wear shift pigment density and flake distribution, so spectrophotometer-based matching and blending are required for an invisible repair.
What is a dry flake gun and why does it matter?
A dry flake gun deposits large metallic flakes onto a tacky carrier coat without thinning the paint, which prevents clogging and preserves flake size and orientation. Standard airbrushes cannot handle large flakes without turning the paint into unusable sludge.
How many coats of primer does a professional paint job require?
Professional refinishing calls for 2–3 thin coats of primer with 10–15 minute flash times between coats, followed by a full cure period of 2–3 days before the basecoat is applied.
What makes 3D-printed stencils better than hand-cut masks for complex designs?
Flexible TPU stencils conform to compound panel curves that rigid hand-cut masks cannot follow, producing crisper edges and cleaner detail. They also include registration marks for multi-layer alignment and can be reused across multiple applications.
Recommended
- Choosing the Perfect Paint Color for Your Custom Vehicle – Custom Defender | Restored Defender Specialists | ECD Auto Design
- Upgrade Your Style with a Custom Paint Job – Custom Defender | Restored Defender Specialists | ECD Auto Design
- Car & Driver | How to Give Your Ride a Showroom Shine, from a Car Restoration Expert – ECD Auto Design
- 2024 Guide to Transforming Your Custom Defender – ECD Auto Design
FREQUENTLY ASKED
QUESTIONS
No FAQs configured yet.